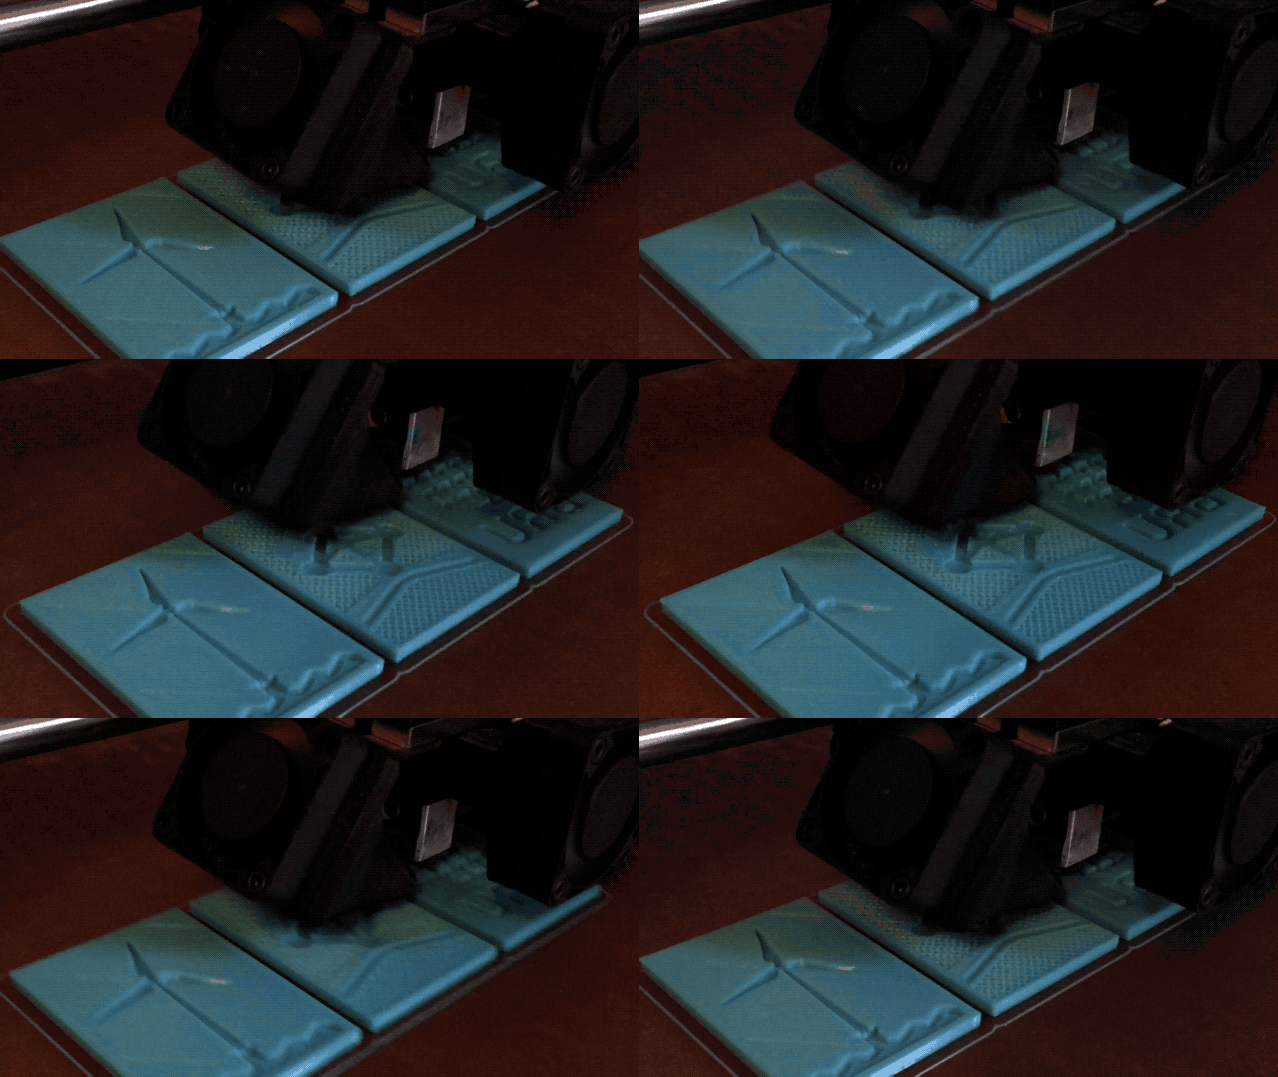
3D Printed Speculoos Molds
Our prototypes typically take the form of circuit boards, mechanical do-dads, and interactive code. But sometimes, like curious children, we like to play with our food.
Enter the speculoos cookie. Anyone who’s traveled by airplane sometime in the last decade has probably been offered a Biscoff with their hot beverage: a crisp, buttery spiced cookie that’s baked to a toasted-brown color and tastes delicious alone or dunked in coffee or tea.
But those in-flight snacks are just a commoditized version of the authentic artisan speculoos made in and around Belgium (Dutch “speculaas” and German “spekulatius” are quite similar, but use different sugar types and spice combinations). The genuine article is more intensely spiced and pressed by hand into wooden molds, often decorated with old-world designs.
A Modern Twist on a Belgian Classic
As the cold weather approached here in Ohio, we decided to try 3D printing our own speculoos molds to relive some of the comforting flavors of Belgium’s capital city.
Having spent some time in Brussels, we grew fond of all the amazing food the city offers (craft waffles, chocolate, beer/gueuze, frites; need we say more?), as well as its gorgeous architecture, captivating museums, and unique, cartoon-laden art scene. So when it came time to decide what the molds should depict, we had no shortage of ideas.
In the end we settled on:
- Atomium - This funky building is a beautiful piece of futuristic architecture built for the World’s Fair in 1958. It resembles the lattice structure of iron.
- Gaufre de Liège - While technically hailing from another Belgian city, these waffles made with extra butter and pearl sugar can be found all around Brussels. We included the BXL (short for the French name of the city, Bruxelles) just to be clear.
- Wind Turbine - The Dutch windmill is a common design used on traditional speculoos, so we took the liberty of modernizing it with a turbine (like those dotted around Belgium and off the coast).
Download. Print. Seal.

We’ve released all the files you need to print your own Brussels-inspired speculoos molds on Thingiverse. They only took us about 30 minutes each to print, so it’s a quick afternoon project to make a set of 3 molds (or more, if you have help if the kitchen).
Naturally, there are some important considerations when using printed parts around food. In short: use food-safe filaments and coat the parts with a food-safe sealant.
Also note that the molds themselves should never get hot; they’re just used to press a shape into the cool dough (read: never put the molds in the oven!). Here’s the lowdown if you’re itching to design your own.
Work the Dough

There are lots of speculoos recipes out there, but since most people don’t have specialty molds or forms to press the dough into, they generally cater to making cut-out cookies. (There are also countless “roll-out” cookie cutter STLs online, if that’s your preference!)
Using a gram scale, this speculoos recipe (in French or translated to English) claims to be derived from Maison Dandoy in Brussels and is simple to make in a single bowl with minimal dishes. For those using the English translation, note that the oven temp is in Celsius (160C = 320F).
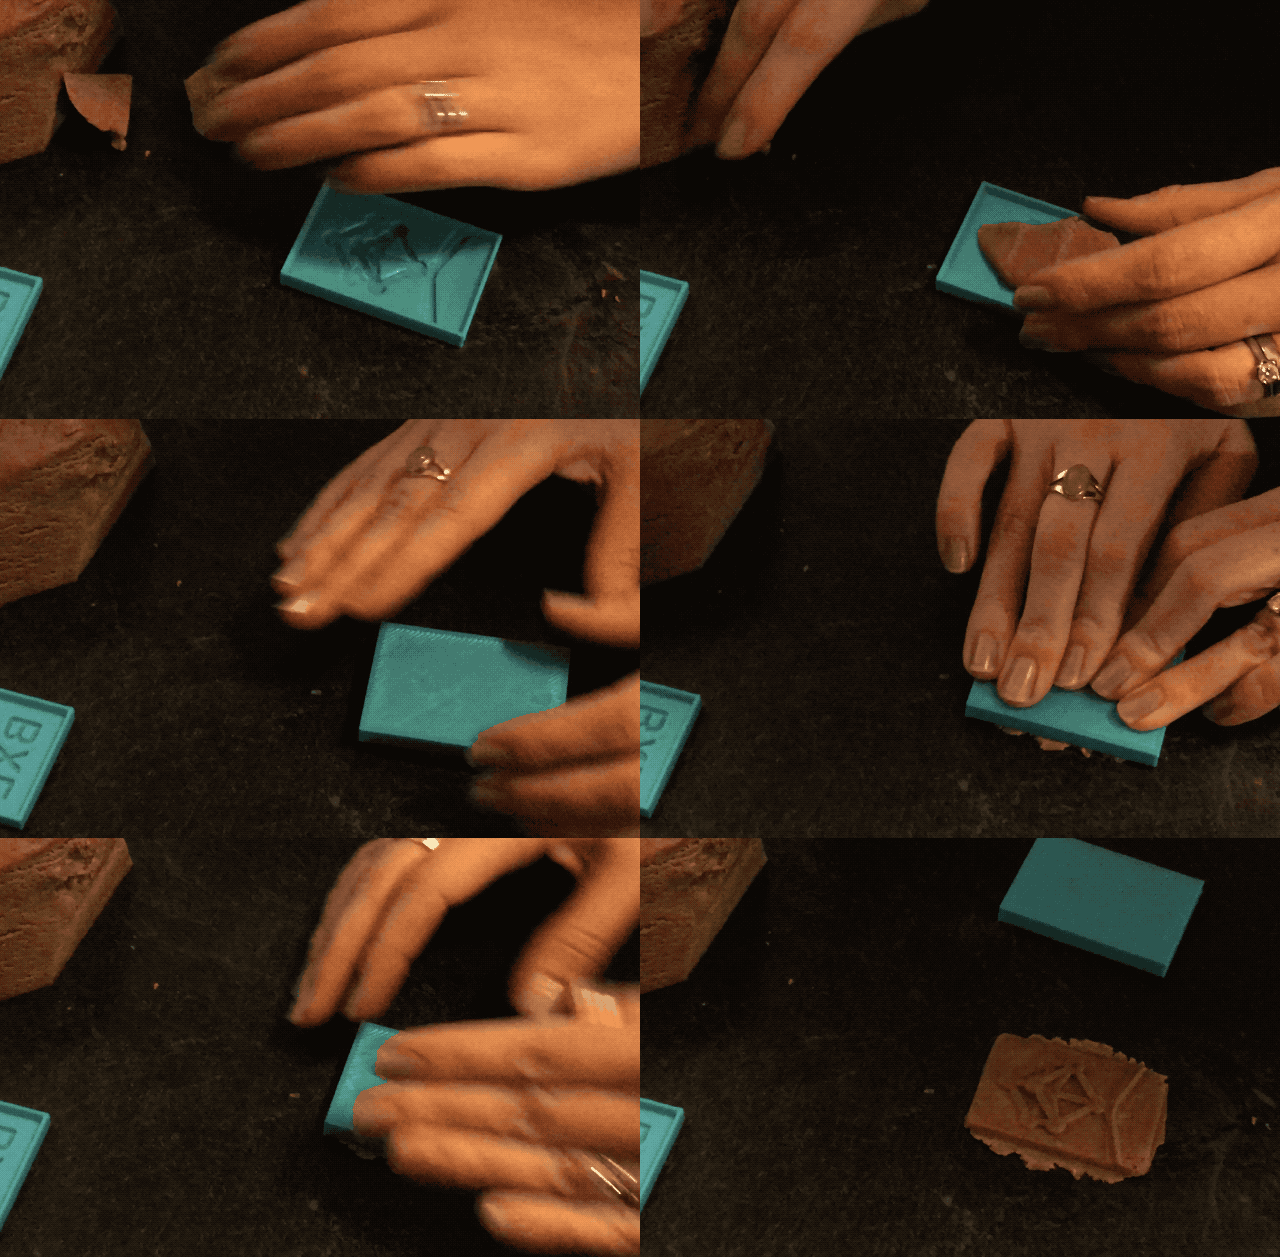
Firmly press the dough into the molds on a countertop, then gently lift to reveal the design. You can use a rolling pin instead of just brute force if so inclined.
The dough’s consistency is very similar to playdough and doesn’t include eggs. This makes it very satisfying to work with, and safe for little ones to help out with the forming/baking/nibbling (especially fun around the holidays with family).
You can even freehand shapes (hearts, stars, animals, etc...but rolled or patted quite thin works best), and they turn out surprisingly well.
Bake ‘em Up Nice

Slide your speculoos into the oven and watch them do their slow, enticing dance over 15-20 minutes. For a crispier, carmelly-er speculoos, opt for a longer bake.
Then pull them out to cool on the baking sheet for 5 min, and transfer to a wire cooling rack for a couple hours (that’s right, 2 hours; you’re letting them dry out and crisp up here... if you’re looking for softer “cookies,” just don’t let them air out as much).
For those too impatient to wait for the full cooling/crisping to test them out, you’ll be glad to know that they’re also edible (scrumptious, even) warm out of the oven.
Bonne dégustation !*
For the especially curious at heart and adventurous at kitchen, this is an excellent primer and recipe that will be of use if you’re looking to emulate one brand in particular.
*Om nom nom.
Technical Takeaways
After a few iterations, we learned some things about making functional speculoos molds. Here’s a cheat sheet to help you make your own custom shapes for working with pressed dough:
- The base cookie height should be 2-4mm (3mm seems like a practical middle ground; too thick, and the rise of the main cookie deforms the features on top).
- The feature height should be 0.5-2.5mm (any lower and the lines disappear; any higher and dough seems to get stuck in the crevices).
- Make sure to apply a draft angle/taper on all features to facilitate demolding of the somewhat fragile dough (10 degrees minimum).
- Minimum feature line thickness is about 1mm (the dough is slightly grainy and has trouble reliably working in details much finer than that), so we aimed for 2-3mm grooves to allow for tapering down to 1-1.5 at the peaks.
- Lines are visually more pronounced than steps when baked, so design accordingly (i.e. think about it like drawing line art, not solid modeling shapes in CAD).
- Print with a layer height of 0.25mm or less. Much more than that and the slight bulge on each layer will grab the dough, making it harder to demold. We used 0.2mm layer height in the end.
- Use straight edges for the overall cookie shape. While less decorative, this makes trimming off the inevitable squished-out dough much easier than scalloped or fluted sides.
All hacks posted by Makefast Workshop are open source and shared without any strings attached for your amusement, use, and continued experimentation.
Happy hacking!