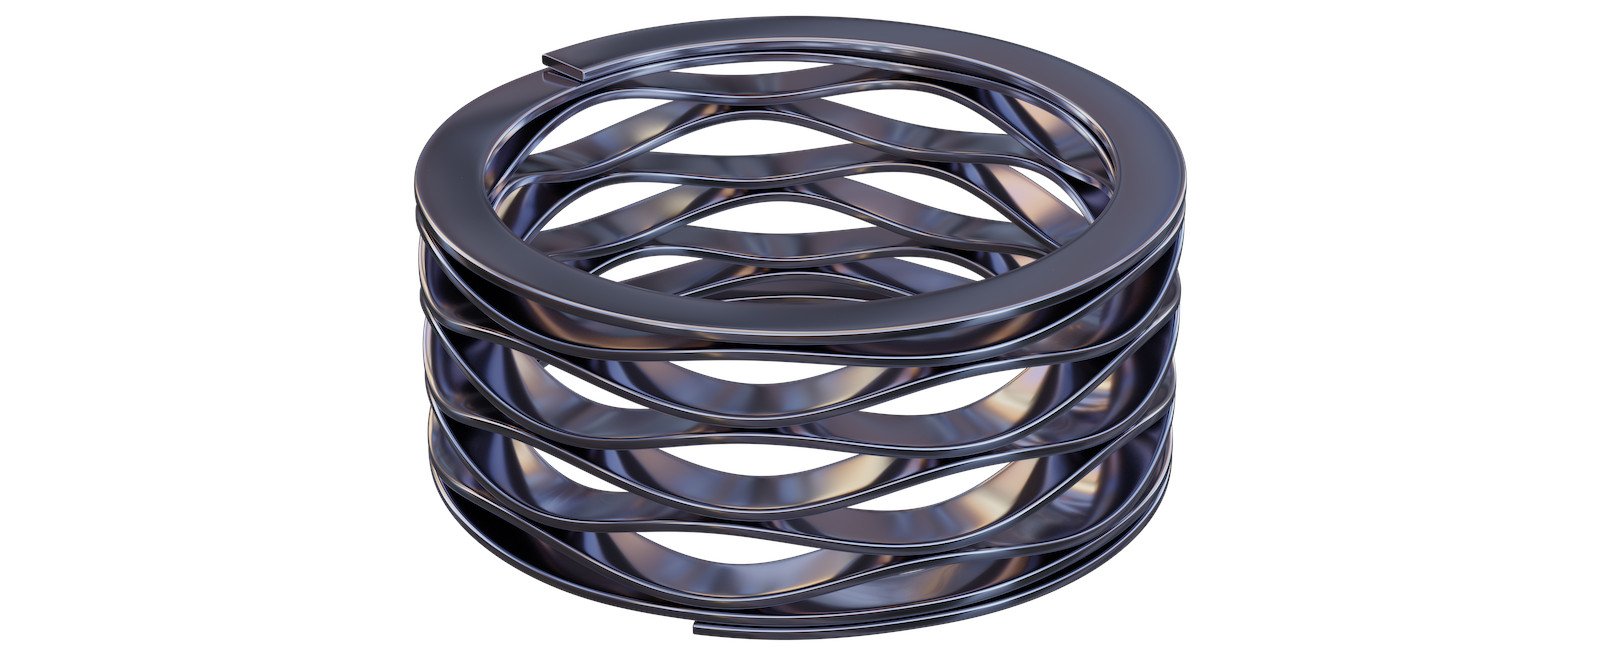
Midair 3D Printing 2: Making Rectangular Wave Springs Without Support

Note: If you just want to make some midair wave springs, skip ahead to the G-code generator.
In 2018, we hacked some g-code for our 3D printer to extrude coil springs. While functional, those first springs were really just a way to explore our curiousity to use a printer to do more than building up solid parts layer-by-layer.
Of course, coil springs are easy to get (or even make yourself by wrapping wire around a cylinder) so printing them was never really all that necessary. But what if the springs in question were not so easy to find elsewhere?
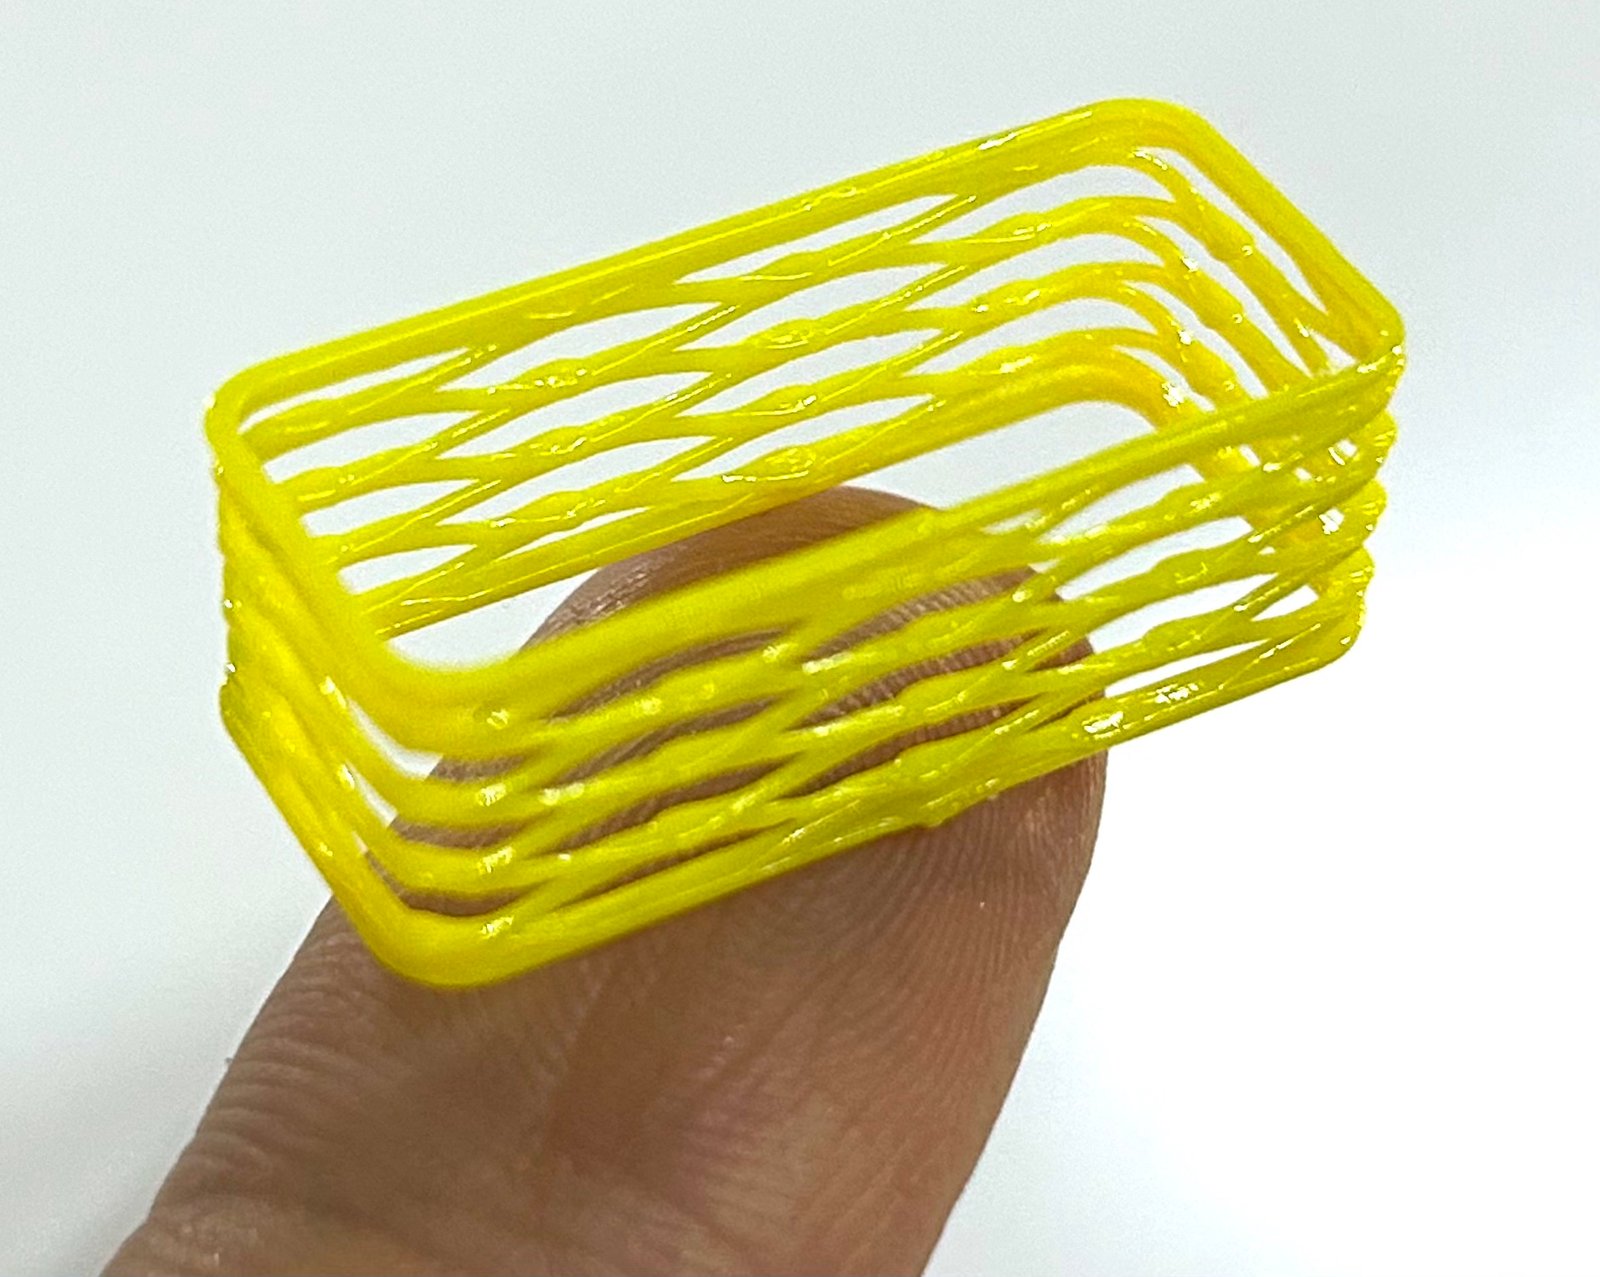
Scientists working on an automated wildlife monitoring system for nature conservation reached out and asked if we could use the same basic midair printing approach to create very specificly sized and shaped springs thare are difficult to buy or otherwise fabricate.
Specifically, could the midair printing approach be used to create wave springs? And if so, could they be rectangularly shaped to fit into tight spaces?
Wave springs come in a few different forms, but all share one key advantage -- they can reduce the spring operating height by about 1/2 compared to standard compression springs. That's pretty cool and useful for all kinds of appliactions; challenge accepted!
The Wave Printing Challenge
Unlike the midair coil springs we made previously, extruding a wave spring requires the printer's hotend to move both up and down such that the coil touches back to itself periodically. With 3D printing, that means that the nozzle must move in the negative Z direction during a print -- this risks either deforming the previously printed material, or even worse, crashing into the part entirely.
This led to numerous tweaks and parameters added to our original hack such that we could monitor things like the maximum nozzle descent angle, the number of waves per revolution, coil over-extrusion, and the addition of an extrusion dot at the trough of each wave to secure it to the wave below.
We also decided to pick one customizable shape type, a rounded rectange, allowing for arbitrary width, length, and corner radius.
And finally, just like the previous printed midair springs, these need to be printed very slowly and with even fan cooling to allow the filament to cool as the printhead is depositing the molten plastic through the air. But on the up-side, the total amount of plastic used is quite small, and this approach allows us to create arbitrary wave springs of various dimensions/shapes that can't be found anywhere else.
Results
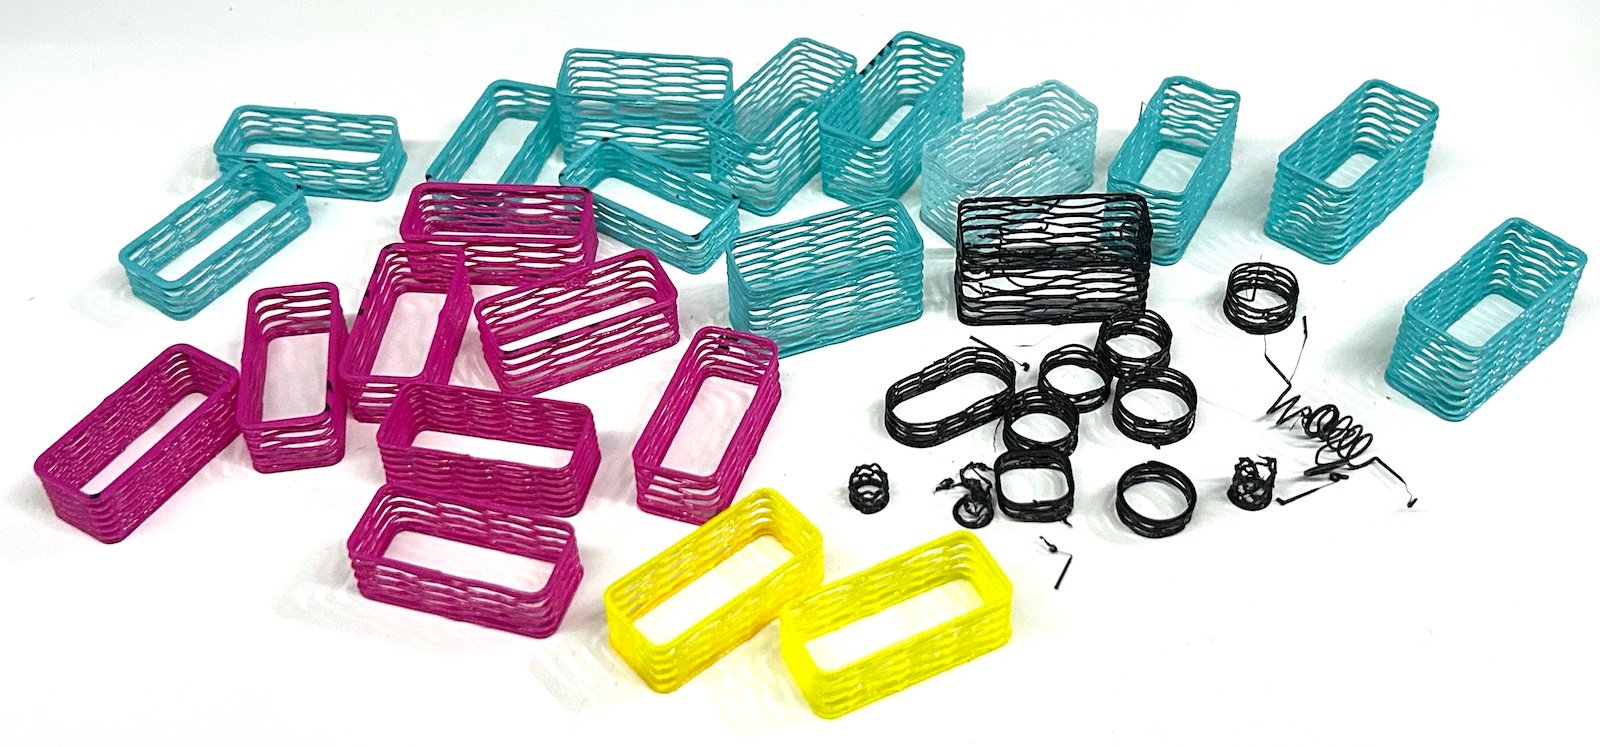
After dozens of wave spring printing attempts, we finally started to get consistent results.
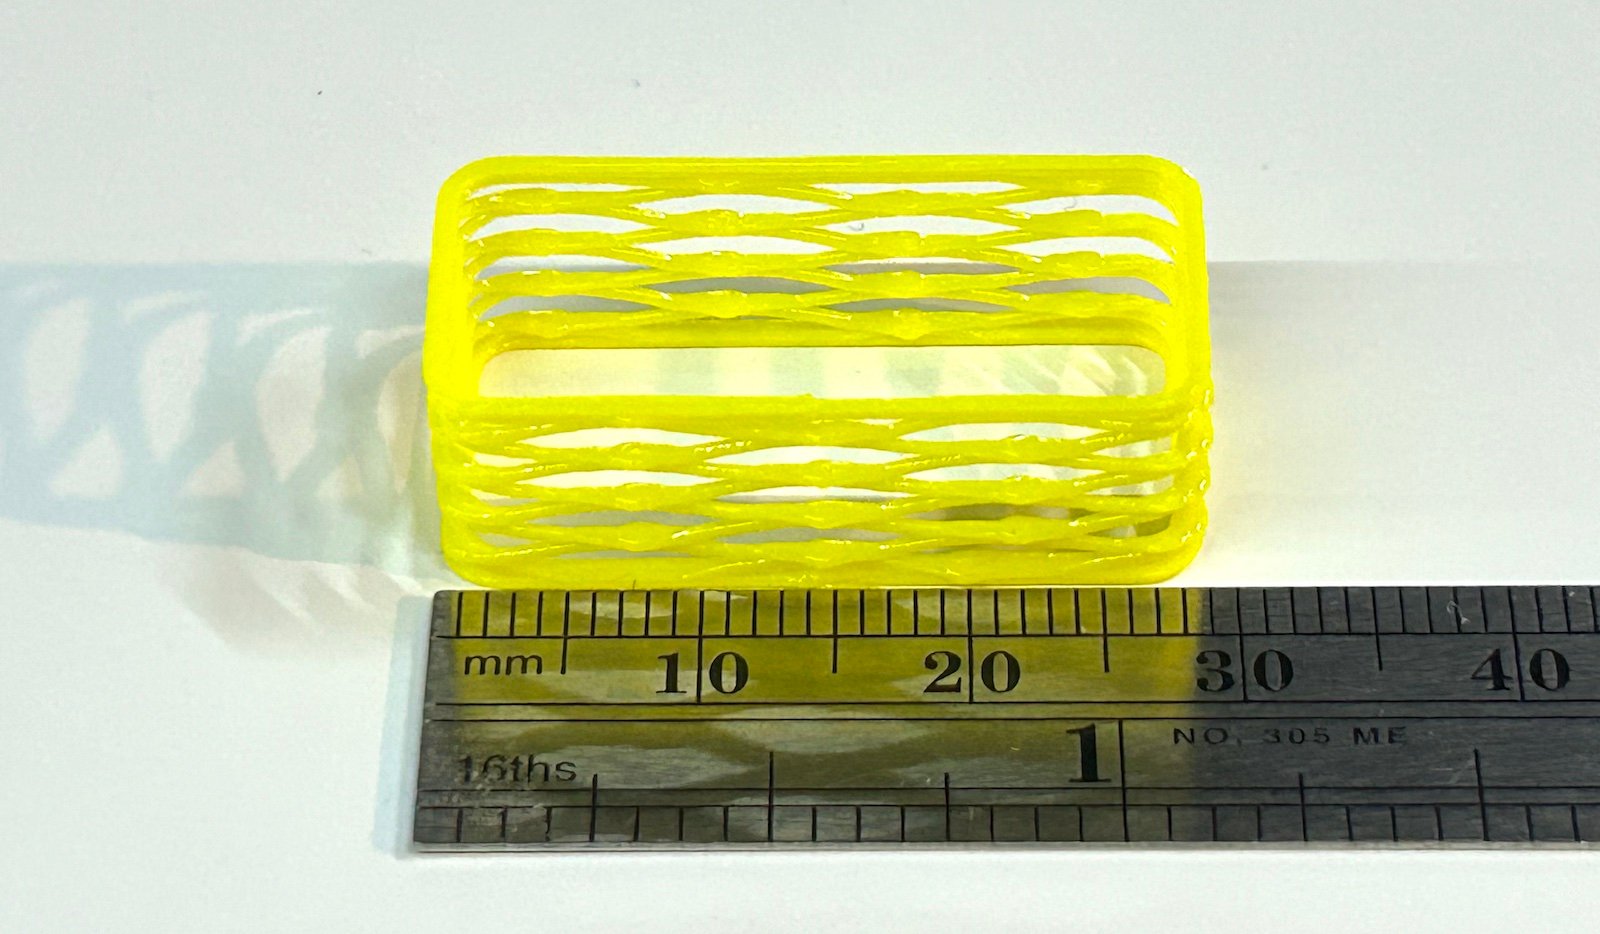
The final spring (which is used as the default values in the generator below) resulted in a rectangular shaped spring with measured dimensions of 28.6mm x 13mm x 10mm, with a 2mm corner radius.
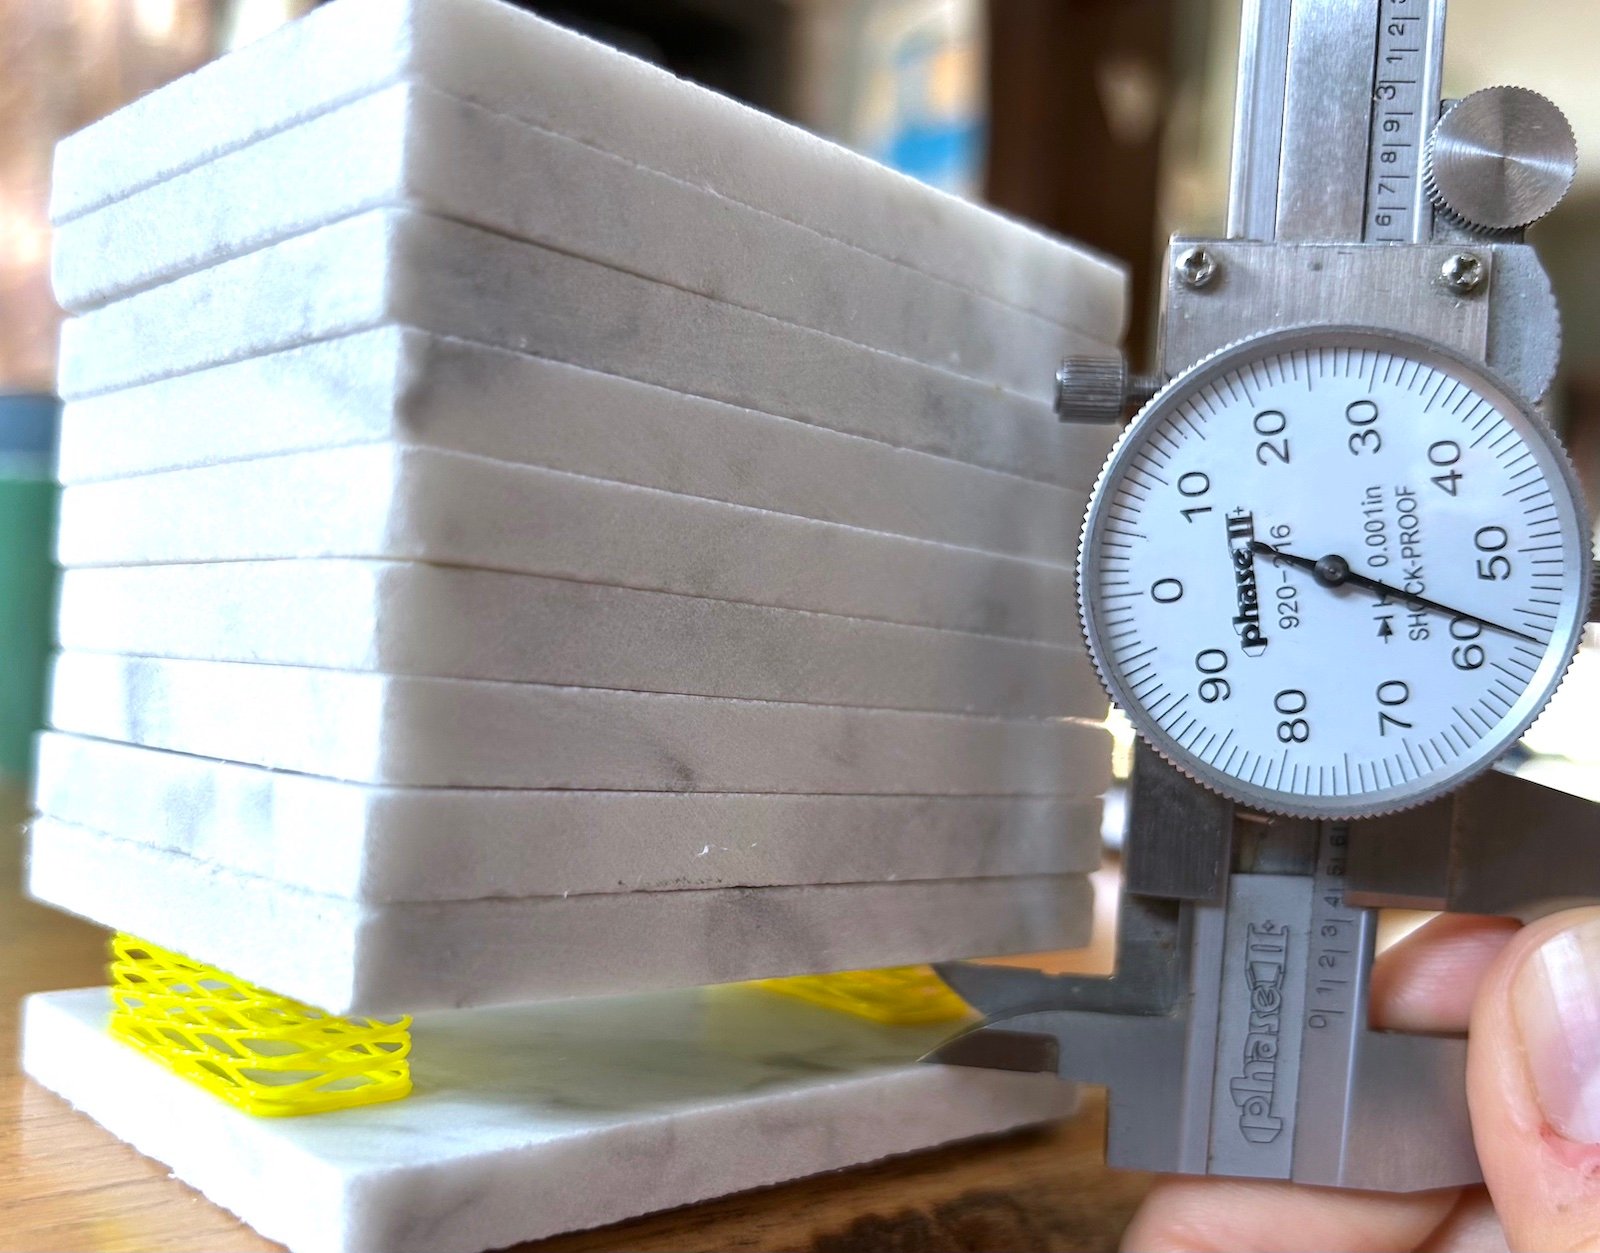
By placing two springs in parallel (for stability), we could then measure the approximate spring constant by placing a mass on top of them and measuring the displacement. For our 10mm tall springs, we measured a displacement of -1.17mm under 7.7N of force (i.e. 0.784kg at 9.81m/s2).
F = -k * x
7.7N = -k * -1.17mm
k = 6.6N/mm (for 2 springs in parallel)
k = 3.3N/mm (for single 28.6x13x10mm printed wave spring)
Midair Wave Spring G-Code Generator
This is an experimental hack. Double check that it's properly sized/positioned for your printer!
To create your own spring:
- Edit any of the parameters below.
- Click the Generate G-Code button.
- In your favorite slicer app (PrusaSlicer, Cura, etc.), create a simple bit of G-code using the desired setup/filament.
- Open the exported G-code and replace the main working section with the generated output (between your 3D printer's standard Start/End G-code blocks, which likely heats things up, levels the bed, etc.).
- Run/Print it (and be ready to turn things off if something seems out of place)!
Note: All G-code is generated in javascript on this page. Feel free to take a look under the hood and play with it yourself for further experimentation!
Midair Wave Spring Parameters
Examples (for Prusa i3 Mk3/Mk3s)
We ran all our tests on a Prusa i3 Mk3/Mk3s, so if you happen to have the same printer feel free to use our exact G-code to give it a try!
Printed using a standard 0.4mm nozzle with PETg filament.
- 28.6x13x10mm wave spring, 5 waves/rev, 1.135mm coil pitch; total coil height is 10mm, measured K ~= 3.3N/mm.
All hacks posted by Makefast Workshop are open source and shared without any strings attached for your amusement, use, and continued experimentation.
Happy hacking!
